
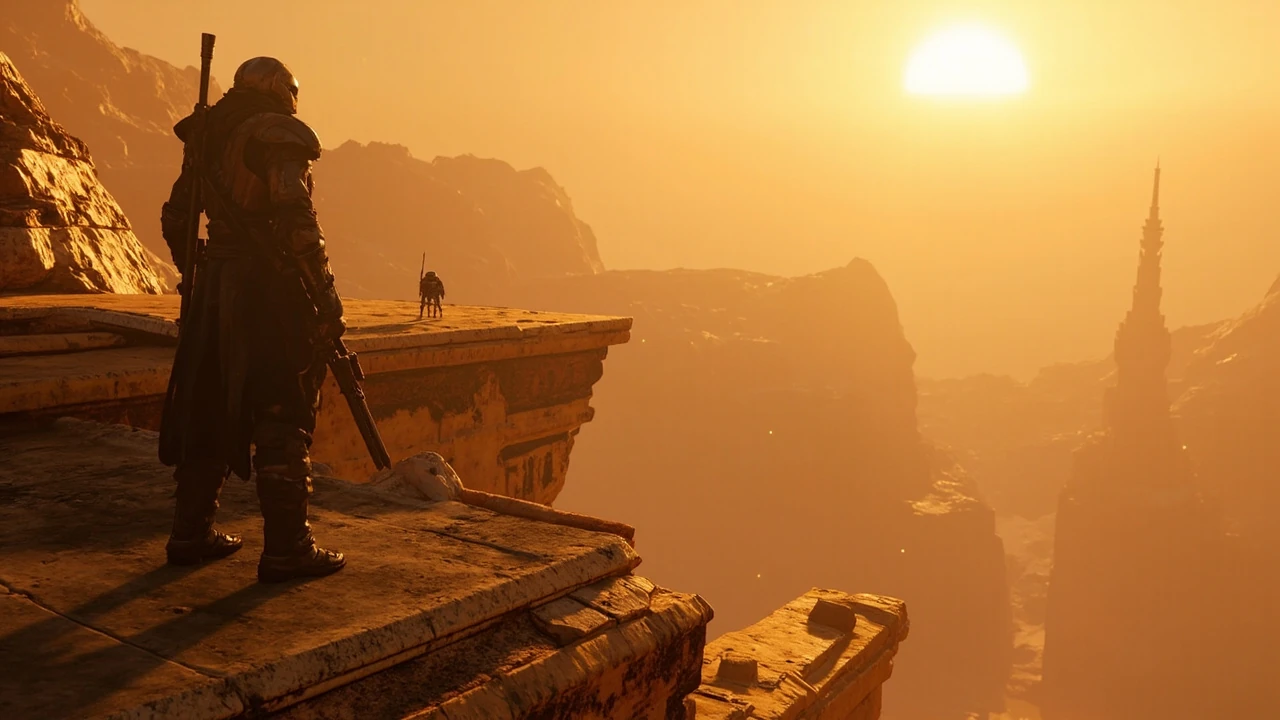
Jedi survivor walkthrough: a practical guide from Coruscant to Tanalorr
Star Wars Jedi: Survivor puts players in control of Cal Kestis and his droid BD-1 five years after the events of Jedi: Fallen Order, and the structure of the game reflects the pressure on that relationship. The Empire has consolidated power, no one remains to challenge it openly, and every chapter asks the player to push deeper into hostile territory before the story permits free exploration. For developers and for players, the game’s design is the clearest when the chapter flow is read as a set of escalating design problems: how to keep navigation readable across multiple planets, how to gate exploration behind earned abilities, and how to keep late-game areas compelling when the player already understands the combat language.
This jedi survivor walkthrough is organized so a player can follow the main path from the opening cinematic on Coruscant through the final chapters, while a developer can use the same structure to study how progression, ability gating, and planet design work together. The mission list below mirrors the public mission outline used by official and editorial walkthroughs, with each entry summarising the chapter’s key objectives, the planet it takes place on, and the design ideas the chapter is teaching the player through play.
Use the table that follows as a quick map. After it, the chapter-by-chapter section explains the mechanics each stage introduces, the points where exploration is intentionally limited, and the moments where the game hands control back to the player for free roam.
Mission overview at a glance
| Chapter | Primary planet or location | Core design purpose | Player takeaway |
|---|---|---|---|
| Chapter 1 | Coruscant | Onboarding through a cinematic set piece | Combat basics, parry timing, dodge windows |
| Chapter 2 | Koboh (Jedha, later) | Open-area introduction and first ability gate | Exploration loop, Meditation Circle navigation |
| Chapter 3 | Across the galaxy | Lore delivery and traversal teaching | Long-distance travel, scanning, fast travel use |
| Chapter 4 | Koboh return | Backtracking with new abilities | How ability gating shapes repeat visits |
| Chapter 5 | Pursuit chapters | Escalating combat and boss design | Stance switching, perk synergy, posture control |
| Chapter 6 | Final chapters | Narrative resolution and free exploration | Optional content, post-credits exploration |
The table is a reading aid, not a replacement for the chapter detail below. The mission names and chapter breakdowns match the structure used in the official and editorial walkthroughs that index the main story path. A developer studying the design will notice that the same three planets (Koboh, Jedha, and the Tanalorr-bound locations) are revisited several times, each time asking the player to use a new traversal ability or combat option to reach areas that were previously blocked or unreachable.
Chapter 1: the Coruscant opening
Chapter 1 begins with a cinematic clash on Coruscant, and the first two main objectives are deliberately contained. The level design is mostly linear: Cal moves through a confined imperial complex, fights a small number of enemies, and the game introduces the core combat verbs one at a time. From a production perspective, this is the onboarding chapter, and its pacing is worth studying because it sets the expectation for the entire game.
- Combat basics. The first encounters teach light attack, heavy attack, dodge, and parry in a controlled setting. The enemy mix is small and the arena geometry is simple, so the player can experiment without punishment.
- Force usage. The first Force abilities are introduced through environmental prompts rather than menus. Pull and Push are framed as puzzle tools before they are framed as combat options.
- BD-1 as a system. BD-1 is treated as both a narrative companion and a progression system. The droid scans enemies, distributes stims, and unlocks door shortcuts. The game teaches the player to look for BD-1 prompts before assuming an object is static.
A jedi survivor walkthrough usually spends less time on chapter 1 than later chapters because the design itself is short. The point of the chapter is to leave the player in a confident state for chapter 2, where the world opens up.
Chapter 2: the Koboh introduction and the first open area
Chapter 2 is where Star Wars Jedi: Survivor begins to feel like a Metroidvania, and it is the chapter most players will want to read through before playing. The first stretch of the chapter keeps the player on a short leash, but once Cal arrives on Koboh, the design opens up considerably. The game is honest about this: the developers want the player to settle a few key objectives before free exploration becomes rewarding.
The chapter introduces three systems that recur through the rest of the game:
- Meditation Circles as save and fast travel points. They are not optional in the way an inventory screen is optional. They are the connective tissue of the map, and the game’s level design is paced around them. A player who treats them as decoration will find navigation frustrating.
- Ability-gated paths. The first major traversal ability is earned partway through the chapter. Doors, walls, and ledges that cannot be opened yet are visually marked so the player can plan to return.
- Companion side content. NPCs on Koboh and the cantina on Jedha offer optional content that often rewards exploration with cosmetics, perk slots, or lore. None of it is required to finish the main story, and the game is careful not to make the optional content feel mandatory.
For developers, the design lesson of chapter 2 is restraint. The game hands the player a large space and asks them to follow a short set of objectives before rewarding them with the ability to wander. Players who want the shortest path to credits can ignore the side content; players who want the full design study should treat every dead end as a future visit.
Chapter 3: travel, lore, and the Tanalorr setup
Chapter 3 sends Cal on a journey across the galaxy to learn more about a mysterious world for Jedi. Mechanically, this is a travel and lore chapter. The combat density drops, the cutscene frequency rises, and the player is asked to absorb story information while the design teaches the long-distance navigation loop.
From a player’s perspective, the chapter is most useful as a setup for the back half of the game. The decisions made here determine which planets become accessible later and which characters join Cal’s crew. From a developer’s perspective, the chapter is a study in how to deliver exposition without breaking the gameplay loop. The travel segments double as traversal tutorials, and the scanning system introduced in chapter 2 is reused here to give the player agency in what they learn.
The chapter also sets up the first of the game’s soft gating mechanics: not every system is available immediately, and the player is expected to return to planets they have already visited. A jedi survivor walkthrough that lists only the critical path is technically correct, but it hides the design intent. The intent is that the player will keep returning, with new abilities, to find what was unreachable on the first visit.
Chapter 4: back to Koboh with the keys to Tanalorr
Chapter 4 is the backtracking chapter. With more information about Tanalorr available, Cal returns to find the key to reach the fabled planet. This is the chapter where the ability-gating design introduced in chapter 2 pays off. The player revisits areas they walked through earlier, but the new ability unlocks paths, shortcuts, and collectibles that were blocked or hidden on the first pass.
| Design element | First visit (chapter 2) | Return visit (chapter 4) |
|---|---|---|
| Traversal ability | Not yet earned | Earned in previous chapter |
| Map readability | Some areas marked as inaccessible | Same areas open, often with new shortcuts |
| Optional content | Visible but not collectable | Accessible with the new ability |
| Player skill | Learning the basic loop | Applying the loop with confidence |
The table above is the core of how a developer should read a jedi survivor walkthrough. The chapters look like a list of locations, but they are really a list of ability states. Each time the player returns to a planet, they are playing the same level with a new toolset, and the design is testing whether the world reads differently when the player’s vocabulary expands.
Chapter 5: pursuit and the big combat chapters
With the keys to unlock Tanalorr available, chapter 5 asks Cal to track down some of his biggest foes. The combat density rises again, and the game introduces its most aggressive enemy types and boss encounters. This is the chapter where the stance and perk systems start to matter. The player is expected to swap stances during fights, read enemy telegraphs more carefully, and use the stim system that BD-1 provides.
- Stance switching. The dual-wield, single saber, and crossguard stances each have different timing and reach profiles. Boss design in this chapter tests whether the player can switch mid-fight rather than committing to a single build.
- Perk economy. Perk slots are limited, and the player is asked to commit to a playstyle for at least one boss cycle. The game does not punish experimentation, but it does not hand out a respec for free either.
- Posture and aggression. Late-game enemies punish the player for sitting behind a shield. The combat design rewards aggression, and the boss arenas are shaped to support that tempo.
For a developer, the most important thing to notice in chapter 5 is that the difficulty curve is not linear. The game spikes around boss encounters, then relaxes for the connective story content. That rhythm is a deliberate design choice: it gives the player time to absorb story between combat tests, and it prevents the game from feeling like a boss rush.
Chapter 6: the final stretch and free exploration
After a major betrayal, Cal must travel to new locations to finish the saga. Chapter 6 is the resolution chapter, and the game is careful about how much it asks the player to do. The critical path is shorter than chapter 5, and the design is focused on narrative payoff rather than mechanical complexity. The final boss encounter is the test of everything the player has learned across the previous chapters.
Once the credits roll, the game switches to its free exploration mode. This is the moment the developers have been setting up since chapter 2. The player can revisit any planet, complete any optional content that was left unfinished, and find collectibles that were unreachable in the main path. The IGN Star Wars Jedi: Survivor walkthrough notes that exploration of the world is freely available after the credits, which is the design’s way of saying that the critical path is the tutorial and the rest of the game is the actual level.
How the design teaches through the walkthrough
Reading the chapters in sequence is useful, but the real design lessons appear when the chapters are read as a system. The following list is the structure the developers are using across the entire game, and a player who understands it will play differently from a player who treats each chapter as a separate level.
- Onboarding is short and linear. The first chapter is the only chapter the player cannot fail to understand. Every mechanic is introduced in a context where the player can succeed without prior knowledge.
- Open areas are gated by ability, not by story. The game rarely uses plot to block progress. It uses traversal abilities. The visual design reinforces this: blocked paths are marked so the player can plan to return.
- Combat scales with stance and perk choice. The game does not hand the player a single optimal build. It hands the player a system and asks them to commit to a playstyle. The bosses are designed to test that commitment.
- Optional content is layered, not tacked on. Side content, collectibles, and cosmetic rewards are placed in areas the player will pass through on the main path, but they are also available after the credits for players who want the full design study.
- Free exploration is the post-credits state. The game treats the credits as a checkpoint, not as the end. The main path teaches the vocabulary; the open world uses it.
For developers, the lesson is that a walkthrough is not a list of steps. It is the public-facing version of a level design document, and the chapters are the document’s headings.
What a player should know before starting
A jedi survivor walkthrough is most useful when the player knows what it is and is not trying to do. The official and editorial walkthroughs that index the main path, such as the IGN Star Wars Jedi: Survivor Walkthrough, are designed to get the player from the title screen to the final credits. They do not promise that every collectible will be found on the first visit, and they do not claim that exploration is fully open from the first chapter. The game is honest about both of these limits.
Players who want a clean critical path should follow the chapter list, treat optional content as optional, and use Meditation Circles as the primary fast travel system. Players who want a complete collection run should accept that backtracking is part of the design and plan multiple passes through each planet. Neither approach is wrong, and the game supports both.
How developers can use the walkthrough as a reference
A walkthrough is one of the clearest public artifacts a game ships with, and a jedi survivor walkthrough is a useful case study because the game’s design is deliberate. The chapter structure is not an accident: the developers chose to gate exploration by ability, to scale combat with stance and perk choice, and to delay free exploration until the credits. Each of those choices is visible in the chapter list.
For a developer who is designing or evaluating a similar project, the most useful questions to ask while reading the walkthrough are:
- Which abilities are gated behind which chapters, and is the gating visible to the player?
- Which enemies appear in which chapters, and does the enemy mix scale with the player’s vocabulary?
- Where does the game allow the player to fail, and where does it correct course automatically?
- How much of the map is reachable on a first visit, and how much is reserved for a return visit?
- How is optional content placed, and does it feel like a reward or like a tax?
These questions are easier to answer when the walkthrough is read as a sequence of design states rather than a list of locations. The chapter list is the entry point; the design intent is the deeper layer.
Common reading mistakes to avoid
Walkthroughs are written for players, and a player reading the chapters as a list of locations will miss the design. A few common reading mistakes are worth naming directly.
- Treating the chapter list as a completion order. The chapter list is a critical path, not a checklist. Optional content can be completed at any point after it is unlocked, and the game does not require it.
- Assuming every blocked path is permanent. Most blocked paths are ability-gated, not plot-gated. Returning later with the right traversal ability will open them.
- Ignoring Meditation Circles. The fast travel system is the map. Skipping Meditation Circles makes the open world feel larger than it is.
- Reading the walkthrough as a spoiler list. The walkthrough indexes the chapters. It does not need to narrate every cutscene. Players who want the story should play it; players who want the design should read the chapter summaries.
A jedi survivor walkthrough is most valuable when the reader uses it as a navigation aid, not as a substitute for playing the game. The chapters are the headings; the chapters themselves are still the experience.
Frequently asked questions
How many chapters are in the jedi survivor walkthrough?
The main story of Star Wars Jedi: Survivor is structured around six chapter groups, beginning with the Coruscant opening and ending with the post-credits free exploration. The exact chapter count can vary slightly between game versions, and editorial walkthroughs such as the IGN Star Wars Jedi: Survivor Walkthrough list the missions that make up the main path. Optional content is not counted in the chapter list, and it is accessible across the same planets after the corresponding chapter is completed.
Can the entire game be finished in one visit to each planet?
No. The game is designed around ability-gated backtracking. Some areas, collectibles, and shortcuts are not accessible on the first visit because the player does not yet have the required traversal ability. The design expects the player to return to planets with new abilities, and the walkthrough chapter list reflects that by sending the player back to the same planets at later stages of the story.
When does free exploration unlock?
Free exploration is the post-credits state. Once the final boss is defeated and the credits roll, the game removes the chapter constraints and lets the player revisit any planet they have unlocked. The walkthrough chapter list is the critical path; the open world is the post-credits experience. The IGN Star Wars Jedi: Survivor walkthrough describes this as a feature rather than a separate mode.
Is optional content required to finish the main story?
No. Side content, collectibles, and cosmetic rewards are layered on top of the main path and are not required to reach the credits. A player who follows the critical path will still see the complete story. Optional content is for players who want the full design study, the collectible list, or the cosmetic rewards, and it can be completed at any point after the relevant chapter is finished.
How do stances and perks affect combat in the late chapters?
Stance switching and perk choice are the late-game combat systems. The dual-wield, single saber, and crossguard stances have different timing and reach profiles, and late-game boss design tests whether the player can switch mid-fight. Perks are limited by slot count, so the player is asked to commit to a build rather than collect every perk. The walkthrough does not prescribe a build, and the game is designed to support several viable approaches.
How do Meditation Circles work as a fast travel system?
Meditation Circles are the save and fast travel points. They are placed throughout each planet at key navigation nodes, and they act as the connective tissue of the map. The game’s level design is paced around them, so treating them as decoration will make navigation feel harder than it is. A jedi survivor walkthrough will often mention Meditation Circles as a way to reset the player’s position between objectives.
Are the enemies in chapter 5 harder than in earlier chapters?
Yes. Chapter 5 raises the combat density, introduces the most aggressive enemy types, and uses boss encounters to test stance switching and perk synergy. The difficulty curve is not linear, and the game uses story chapters between combat spikes to give the player time to absorb lore. This rhythm is a deliberate design choice and is visible in the walkthrough chapter summaries.
What is the difference between the critical path and the open world in Jedi Survivor?
The critical path is the sequence of chapters that leads from the opening cinematic to the final boss. The open world is the same set of planets, but the player can revisit them with the full ability set and complete the optional content that was unreachable on the first pass. The walkthrough indexes the critical path; the open world is the post-credits state that the chapters have been building toward since chapter 2.
Can the walkthrough be used as a design reference for a similar project?
Yes, with the caveat that the walkthrough is a player-facing artifact, not a level design document. The chapter list, ability gating, and enemy progression are visible in the walkthrough, and a developer can use those elements to study how the game teaches its vocabulary. For a deeper study, the walkthrough should be paired with the in-game ability tree, the perk system, and the Meditation Circle map to see how the player-facing structure maps to the internal systems.
Does the jedi survivor walkthrough include spoilers?
Most editorial walkthroughs, including the IGN Star Wars Jedi: Survivor walkthrough, are written to avoid critical story spoilers while still documenting the chapter structure, puzzle solutions, and boss strategies. The walkthrough indexes the main path and points to the relevant sections without narrating every cutscene. Players who want a fully spoiler-free experience should read the chapter summaries only and avoid the detailed walkthrough entries until they reach the relevant chapter in their own playthrough.
